You’ve received your beautiful custom-framed piece of art back in the mail from Simply Framed. Now what? We’ve partnered up with Jay Sacher, illustrator of the must-have book, How To Hang A Picture and Other Essential Lessons for the Stylish Home, for a monthly how-to-series on hanging your artwork. Penned by author Suzanne LaGasa, the book spills all the instructions, tips, and tricks to make you a hanging pro (plus, you get to enjoy Jay's incredible illustrations). Framing—and hanging—have never been easier!
When you have multiple pieces of art to hang in your home, just putting one single piece up using our previously discussed 57-inch rule might not fly. Enter: the salon wall.
 A gridded salon-style wall. Miranda Dempster and Gus McKay, New York, NY.
The concept of the salon wall originated in Paris in the 19th century, when aspiring artists showed their work at the Paris Salon. In its peak, the Salon drew upwards of 23,000 viewers a day. Today, the salon wall concept—multiple artworks hung at many different heights and formations—allows you to display a lot of pieces on the same wall. It also gives viewers a visual treat, helping them to draw connections between artworks of different styles and sizes.
Read on for 6 tips to create your very own salon wall.
 Salon-style walls can run floor to ceiling or in a band across a wide wall, as in this example.
1. Consider your flow. Salon wall formations can be checkerboard and consistent, or more random. It’s all about the pieces of art you own and the look you are trying to achieve. If you choose a symmetrical arrangement, you’ll need to be very precise in your hanging process; the eye will be drawn to any break in the symmetry.
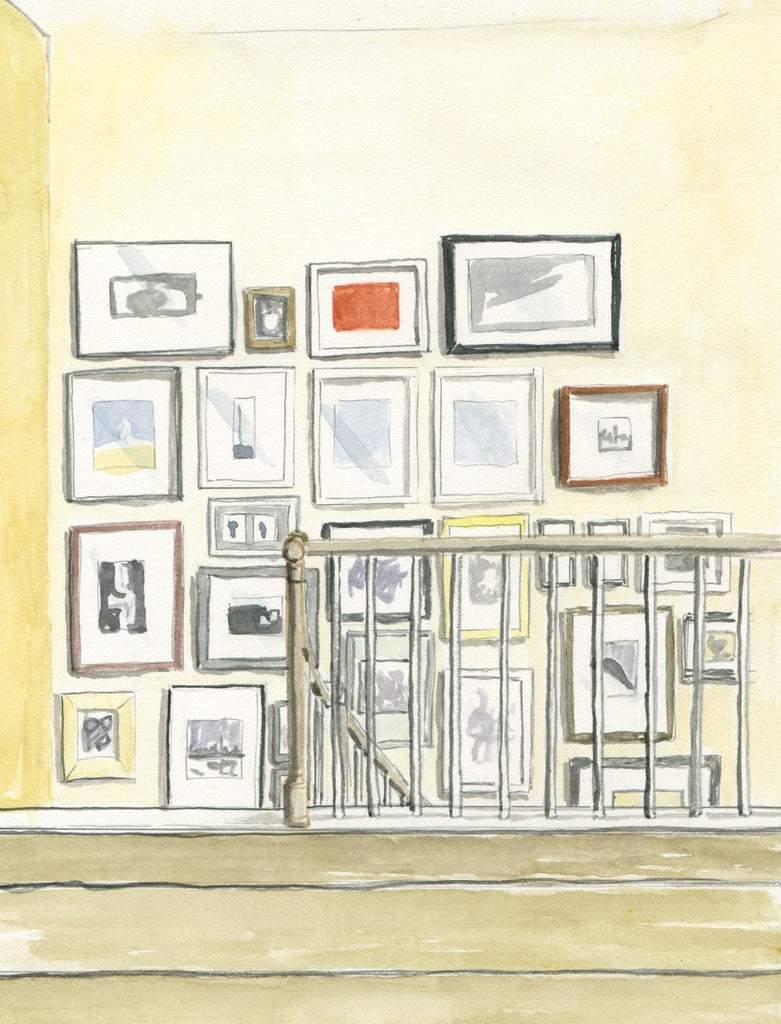 Stairwell salon-style hanging. Laura and Ben DeHaan, Portland, ME.
2. Consider the space. The overall shape of your salon wall could depend on what surrounds it. For instance, a cascading arrangement can look great above a staircase, and 3-D pieces might also play well with the right group of pictures. If you are building your salon wall around a piece of furniture, a sculpture, or an architectural fixture, first make sure you have enough art to follow through with the plan.
 A paper sculpture is the centerpiece of this bold salon-style arrangement. Jim Campbell, Brooklyn, NY.
3. Think about a theme. Maybe you group artworks that share a similar color scheme. Maybe one piece breaks the trend and stands out as the "black sheep" in the group. Works can be grouped by subject matter, medium, and even frame style (Our Black, White, and Natural Gallery Frames are the perfect choice for any salon wall!)
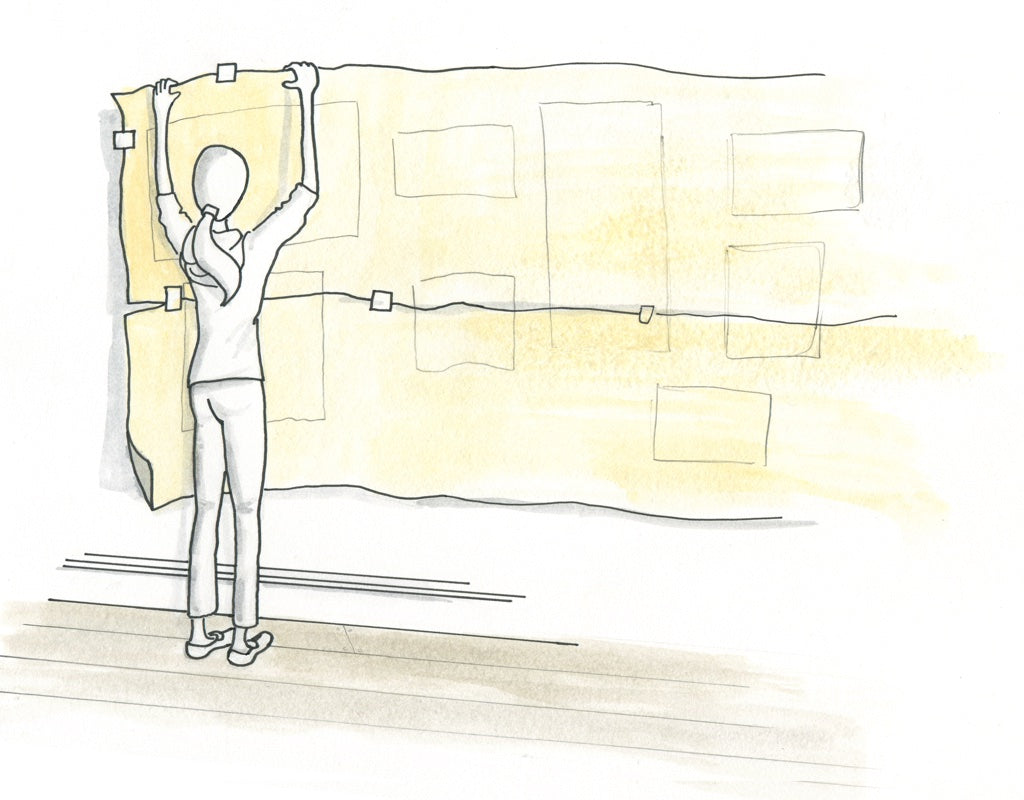
4. Planning makes perfect. When mapping out your salon wall, lay out butcher paper on the floor and play around with different formations of how you might hang the pieces, eventually tracing the chosen arrangement onto the paper and then transferring it onto your wall (for step-by-step instructions on the process, make sure to pick up your copy of How To Hang A Picture and Other Essential Lessons for the Stylish Home).

5. Some rules still (might) apply. If stacking pieces in your wall, get ready to break the 57-inch rule we discussed in the last post. But remember, 3-6 inches is a great general guideline for how much space should be in between the pieces of art.

A mix of art prints, sketches, and oil paintings. Sean McCarthy, Brooklyn, NY.
6. Have fun. A salon wall should be like a mini-museum inside your house. Incorporating mixed-media objects onto the wall—or even personal artifacts—can inspire and invite closer examination. Consider visiting a museum (such as the Isabella Stewart Gardner Museum in Boston, MA) to get inspiration and ideas for how to create vibrant displays of artwork.
 Mixed media wall. Christine Schmidt and Evan Gross, San Francisco, CA.
Be sure to pick up your copy of How To Hang A Picture today for many more details and pointers on how to hang like a pro. And stay tuned for our next handy how-to with more of Jay's gorgeous illustrations coming soon on the blog! Happy hanging!
All illustrations by Jay Sacher.